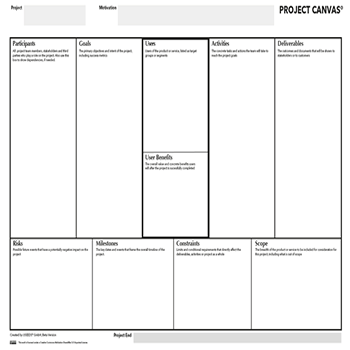
Defining a project accurately is critical to its success. Sometimes this isn’t an easy task, particularly at the beginning of any project: Small deviations at the start can have exponential negative effects later on. This canvas template presents a tool to help you visualize your project and develop a shared vision with all participants of e.g. scope, goal, milestones and deliverables: The Project Canvas (created by Jim Kalbach of USEEDS GmbH).
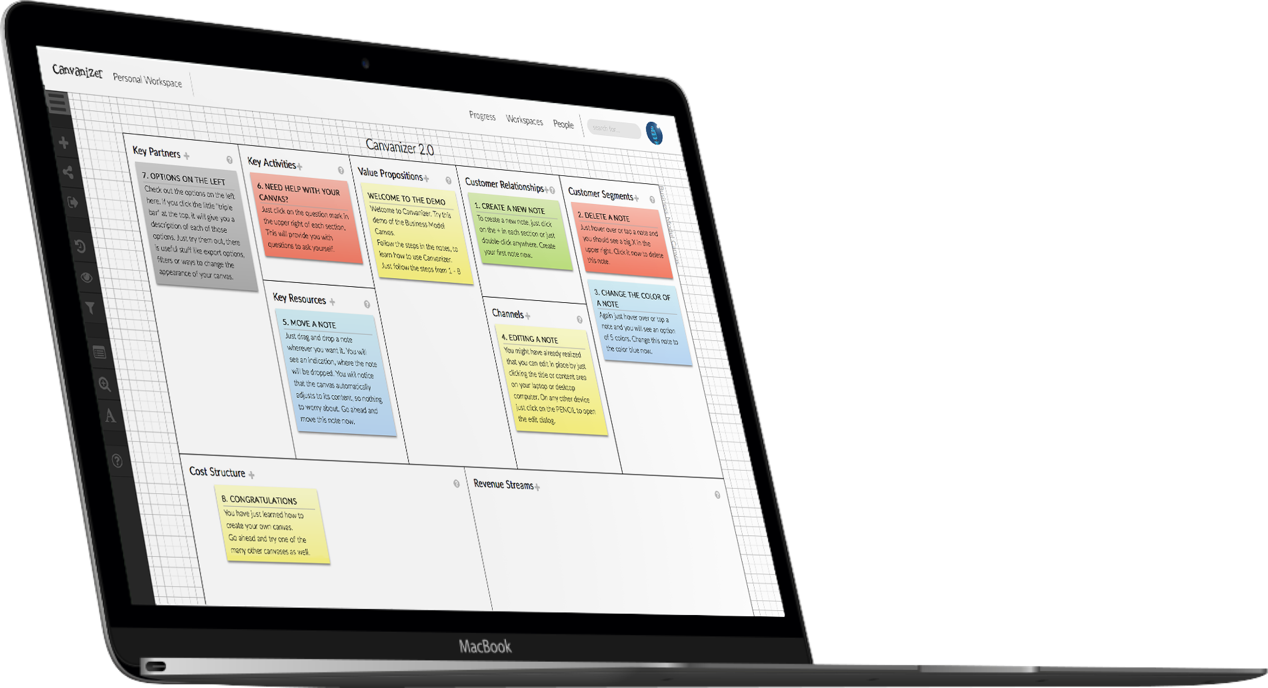
If you want to try it out without entering your email address, please use our public Project Canvas Demo for a first impression.

More about the Project Canvas
The Project Model Canvas is an innovative tool used to transform an idea into a project plan and to stimulate collaboration and communication between all involved parties from the project team to sponsors to stakeholders. Using the Project Canvas allows participants in a project to discuss relevant issues for execution.
Details Element of Project Canvas:
-
Users
We believe users stand at the center of attention in every project. Accordingly, we’ve put “Users” in the center of the canvas. At a minimum, list here the main target groups relevant to the project. This can be at a high level, such as “readers” and “advertisers” for a media portal. You may want to be even more granular in detail. For instance, you can list personas you’ve developed here, as well.
-
User Benefits
List the concrete benefits that users will have when the project is successfully completed. What will they gain from it? This can include things like “faster check-out times” or “more control over their own content” and so forth.
-
Goals
To the left of users is a region for project goals. You can also map success metrics to each goal in this box. Include subheaders in this box to distinguish different types of information.
The goal refers to why the project is initiated and the desired outcomes to be achieved. It is simply the reason why the project is started in the first place, leading to the end result. Goals tell that the project has its benefits, this means it creates significant value for the project participants, the parties involved in the project and its end-user. -
Participants
On the far left is a list of project participants. This should include all people involved in the project in some way. We tend to have several lists of participants by type, such as “core team,” ”stakeholders” and “interested parties.” Include individual names as much as possible. Optional: in the lower half of this box you can show dependencies. For instance, if prototypers are depended on getting content from a client, that should be made explicit.
They are individuals who work in collaboration to implement the project and achieve the desired outcome. The participants are people who plan and execute the project. Every member of the team has a role and responsibility for performing particular actions throughout the project. Usually, the number of participants depend on the size and the complexity of the project, it can also be just one person.
-
Activities
To the right of “Users” is a list of key activities. These are the methods and approaches you’ll be employing on the project. Examples include “User research,” “Persona development,” “Concept design,” “Wireframing,” “Creation of detailed mock-ups” and “User testing,” to name just a few design-related activities. -
Deliverables
List the documents that will be delivered. This doesn’t need to include internal working documents, like spreadsheets and analysis documents. It should only include things stakeholders or other teams will see, as well as assets that appear in a product or service that customers may see. Deliverables may be tangible or intangible in nature.
-
Risks
This is a list of potential future events that can have a negative impact on the project. For instance, recruiting users for testing may be a risk for target groups that are difficult to get to: in this case the impact would be slippage in testing timelines or a reduced sample size. You can also list how you might mitigate known risks here. -
Milestones
List the key dates and events that frame the overall timeline of the project. This doesn’t need to be a detailed project plan. It should include things like “workshop with senior management,” “user testing sessions” and a launch date. -
Constraints
Time and money are always constraints, and you need not list them here. Resources are also a typical constraint, so only list exceptional resource constraints. The focus should be on overarching limitations on work products and processes. For design, this may be something like: “the designs must comply with the CI guidelines.” Include technology and platform constraints here as well. For instance, if a website needs to work on an iPad and smartphone, you’ll want to know about it from the very beginning. -
Scope
Finally, define the scope of the project. List the features and functions that are in consideration on the project. Also list what is NOT in scope here, if known. Information in this box is helpful in fighting scope creep later on in the project. It is a considerable part of aligning the expectations of everyone involved in the project

